

How To Draw A Window Sill
Today I'g going to share how to make a window sill in a few simple steps with basic tools and skills. I'll bear witness you lot what fabric to utilize for window sills and share a few fashion tips then yours look just correct in your abode.
Calculation new trim to our windows was the easiest and least expensive dramatic home improvement in our 1950's block house. I've been slowly replacing them and but knocked out iii more.
Let's go started and I'll show y'all how to build a window sill and share a few different ideas for window sills.
Sending out a big cheers to HomeRight for sponsoring this post! I too apply affiliate links, every bit an Amazon affiliate I earn a fee from qualifying purchases at no additional toll to you. Give thanks you for supporting H2OBungalow!
How To Brand A Window Sill
Awindow sill is the bottom piece oftrim, or the ledge at the bottom of thewindow. It'southward both decorative and serves the purpose of roofing the framing and blocking out drafts and gaps at the window ledge.
How far should a window sill stick out from a wall? Thesill should overhang from the front edge of the wall or window frame at least 3/4 inch. You lot can get in hang over more than if you'd similar. Keep in mind the sill should fit the scale of the window and reflect the style too.
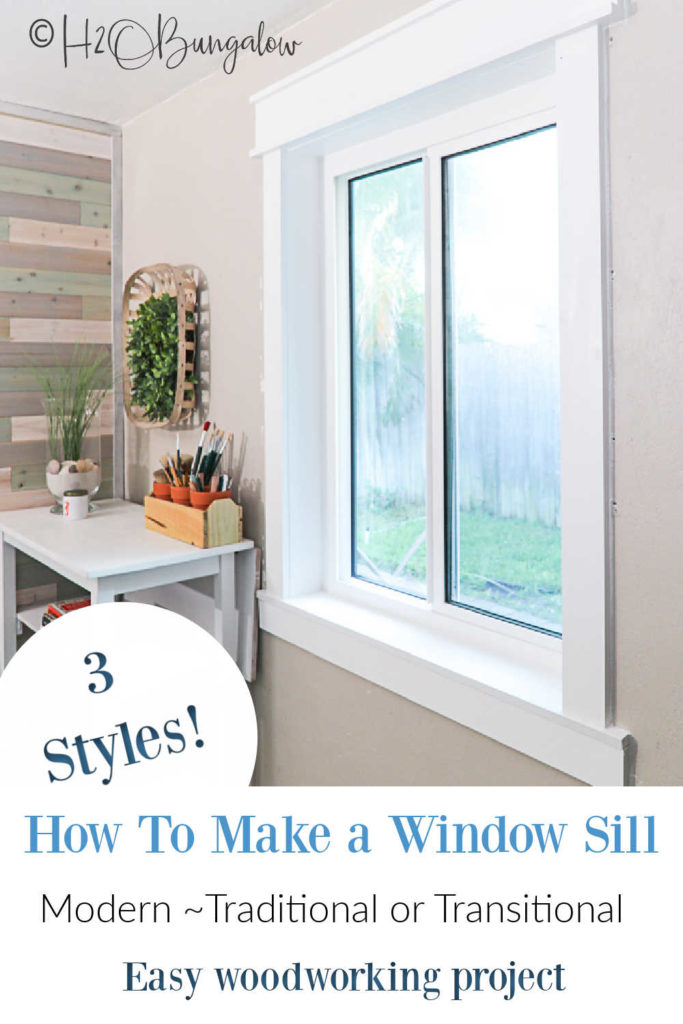
What fashion of window sill is best or most popular? Information technology makes most sense to add trim that fits the manner of your home and moulding if yous take it. In my opinion, modern window sills look best with squared ends. Traditional, transitional or eclectic homes tin can have rounded or foursquare ends. Craftsman window trim, like ours, fits a broad variety of dwelling house styles and it's really easy to add. Particularly since it's all apartment square boards and cuts.
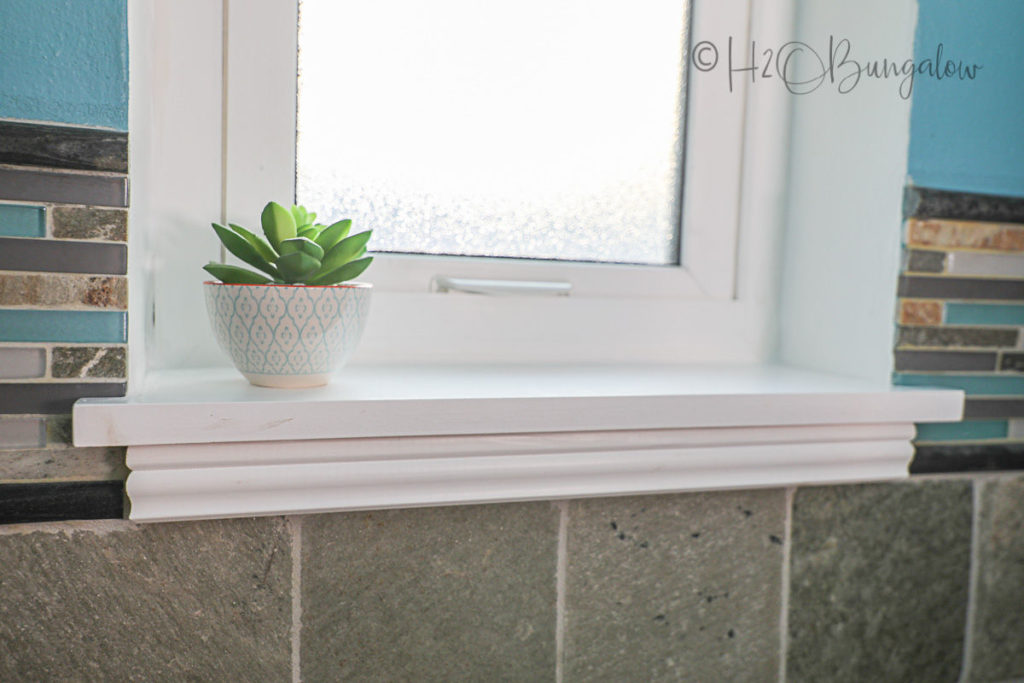
Practice I need to add together an apron to my sill? The respond is no. The trim nether the window sill is called an apron and calculation that is optional. It does have a purpose though, many times and apron will encompass a gap. It likewise adds a decorative touch and helps define the way of a window.
I'll testify you three styles of window trim today. A craftsman, ane with no frock and a simple apron fabricated with moulding. Yous'll get a lot more item in the how to build a window sill video I fabricated.
Supplies needed:
- 1 x 6" or i x 8" select pine lath depending on the depth of your window. 1″ x 6″ will be the well-nigh common.
- Super Finish Max Paint Sprayer
- Extra Super Finish Max pigment container
- Pigment
- Miter saw
- Jigsaw
- High TPI count jigsaw blade
- Structure adhesive – this is my favorite
- Sander
- Record mensurate – this is my favorite i!
- Drop cloth
- Safety goggles – these fit over prescription glasses!
- Respirator or confront mask
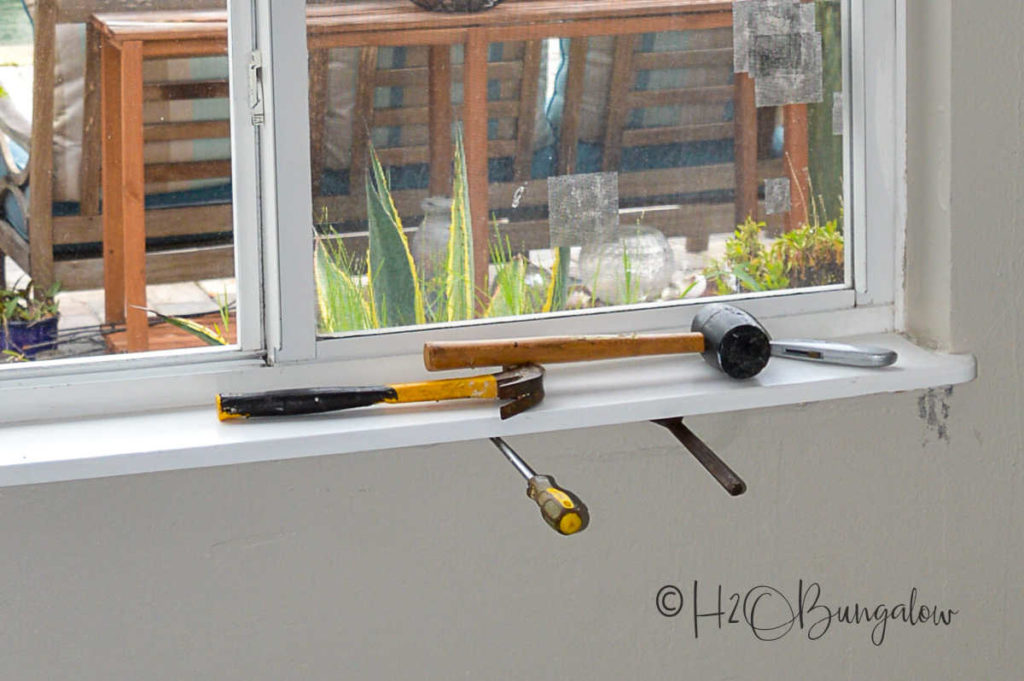
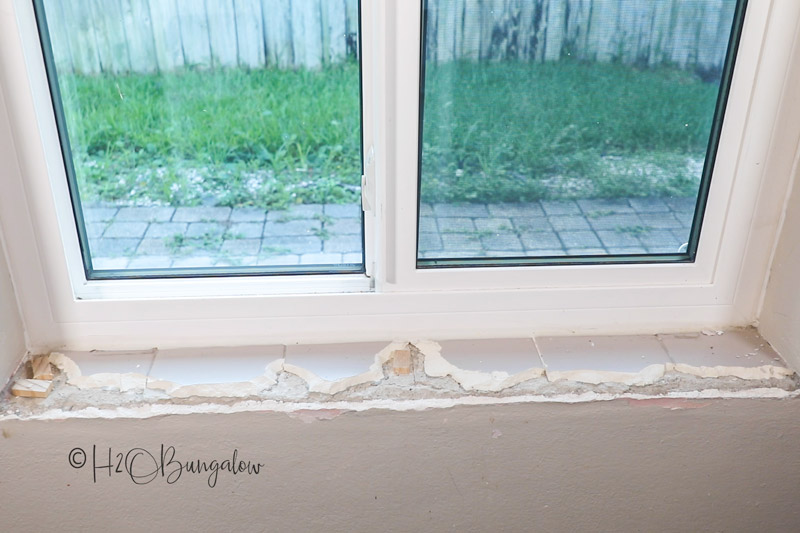
Step one. Remove existing window sills.
Our habitation had tile window sills and a few poorly made wood sills. I tried to scrap the tile off simply that was an impossible task so I added my new ones right over them.
If you lot're removing sometime woods sills or trim, apply a box cutter to break the caulking seal and and so pry them off with a mallet and chisel or a heavy duty flathead screwdriver.
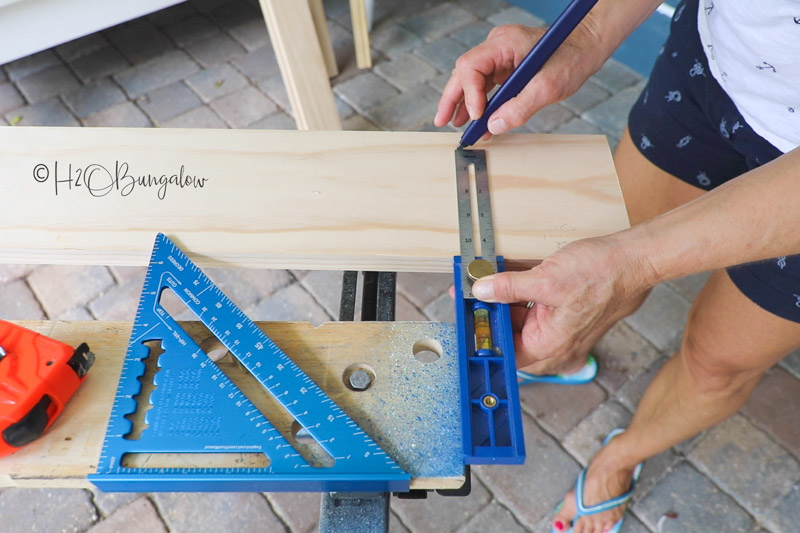
Step 2. Measure out the depth and width of each window.
If you're working on several windows, it helps to make a list or diagram of each 1. Check for items that will limit the choices of adding an apron or affect the size of your window sill like wall or tile trim that is in the way.
Step iii. Cut the window sill length with a miter saw.
What'southward the best material to brand a window sill? E'er use the best quality wood, which is select grade. It shouldn't accept knots in it and you won't demand to practise much sanding. Always check that it is not bowed or warped when picking out your lumber.
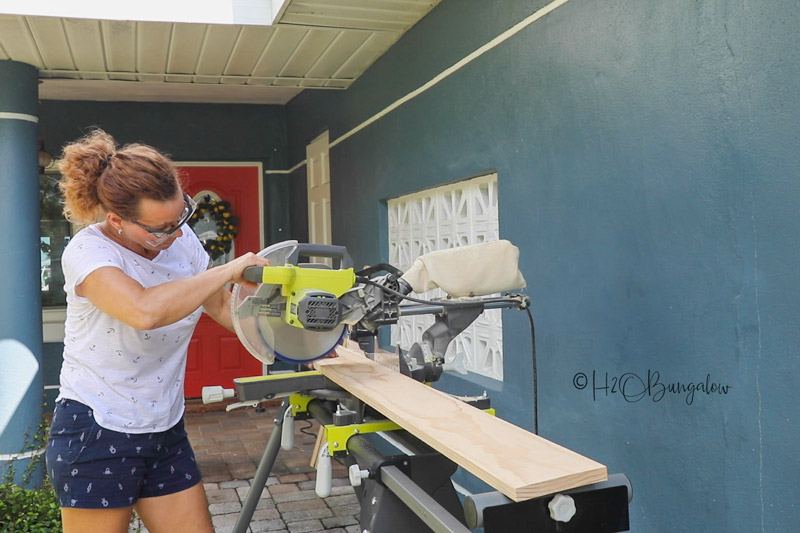
A miter saw gives the best and cleanest cut simply you tin also have your local big box shop cut each board to lengths you'll need.
Choose the all-time side of the wood for the front end and mark the back of the lath so you know which window information technology was meant for. Mark which window the sill belongs to is a huge help when working on more than one.
Pace 4. Cutting the window sill ledge with a jigsaw.
Measure and mark the length of the sill that will extend beyond the window. Example: my Craftsman manner window sill extends 5" across the window frame.
Adjacent, mensurate and mark the depth of the window sill, mine is four ¾". That leaves a 3/4″ sill overhanging my window frame.
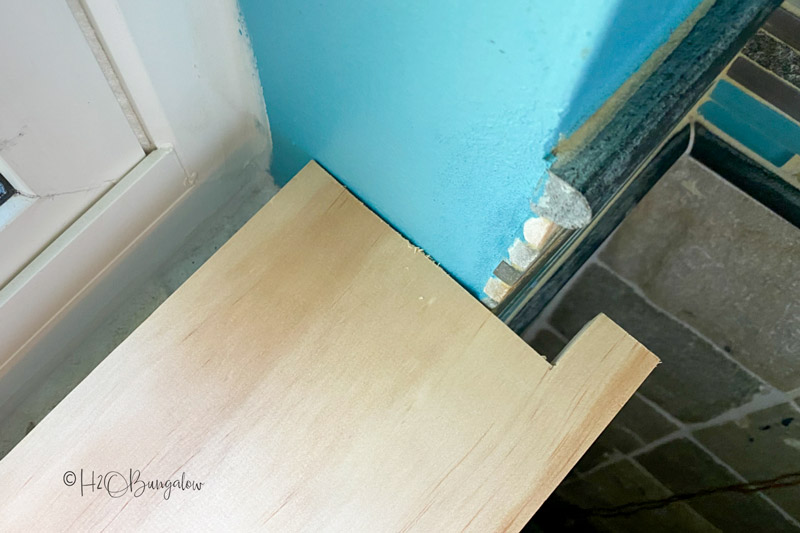
If your DIY window sill will have a square end than you're ready to cutting. If information technology will have a rounded sides, then mark the rounded edges now. Use a loving cup or something rounded to trace the shape. It'southward pretty bones but works great!
Employ a high tooth jigsaw blade for fine cuts to cut out each side.
See how well each windowsill fits in it's window. You may need to make clean out more of the sill surface area to allow the sill to lay flat or you may need to shave off a footling on the sill. If you need to trim your wood window sill, exist bourgeois and only take a small amount at a time.
As well, keep in mind windows and walls are frequently not square, especially in older homes.
Step 5. Lightly sand any edges or rough ends before painting.
I used my random orbital sander with 220 dust sandpaper. Be certain to wipe everything downward earlier painting to remove sawdust.
Stride 6. Spray the paint when possible.
I used my Super Stop Max paint sprayer because I wanted a perfect stop without brush strokes. I also wanted to save time painting. Especially since it's been about 100° outside here in FL!
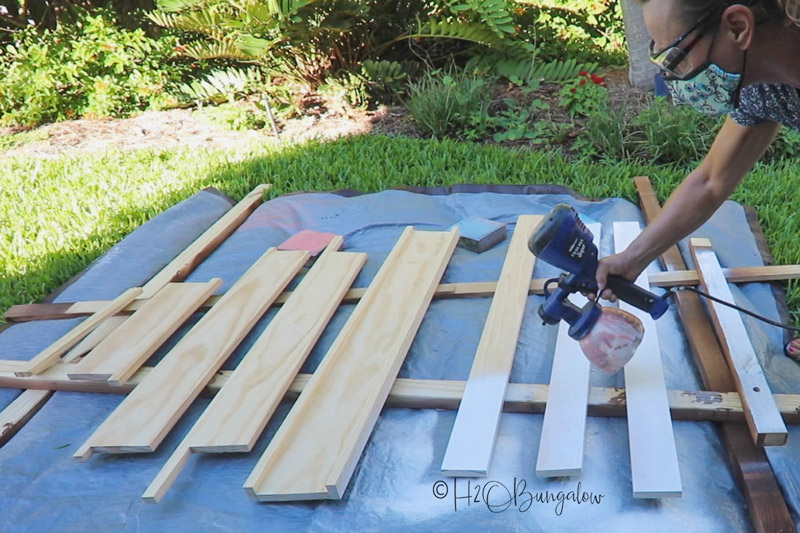
Below are my favorite tips for using a Super Finish Max paint sprayer. You lot'll see how I painted and get more tips in my video.
Larn more than well-nigh HomeRight'south family unit of products and the Super Finish Max on their Website.

- Drag the window sills on boards over a drop cloth in a well ventilated area. I used small blocks of woods nether my sills so the edges wouldn't puddle paint and wreck the stop.
- Always practice a test spray before painting.
- Paint with wearisome dorsum and forth move using your arms instead of your wrists to move the paint sprayer.
- Run articulate water through the Super Finish Max to rinse and gear up it aside while you wait for the start coat to dry.
- Once the first coat is dry to the impact, put the pigment container dorsum on, run a test spray to clear out the water and apply a 2d glaze of paint.
Step vii. Install the sill into the window ledge.
Apply construction agglutinative to the window sill and place the sill in position. I added shims to the chipped off areas of my window frame for more than surface and support but y'all shouldn't need this. Unless, of course, you have chipped tile sills like mine…haha.
Place the sill in the window making sure it lays flat. You lot can add a few brad nails if your widow is framed in wood. Ours is block and concrete and so the construction adhesive is all I needed.
If you're adding a window frock add together that now. You can see my Uncomplicated DIY Craftsman Window Trim project to see how I made and added craftsman aprons and framed my windows.
Step 8. Fill nail holes with wood filler, caulk the rest.
Employ wood filler in the nail holes if you've added trim or used nails. Use painters caulk around the sill edges and underneath.
It'south that piece of cake. Here are the three styles of easy window sills I made.
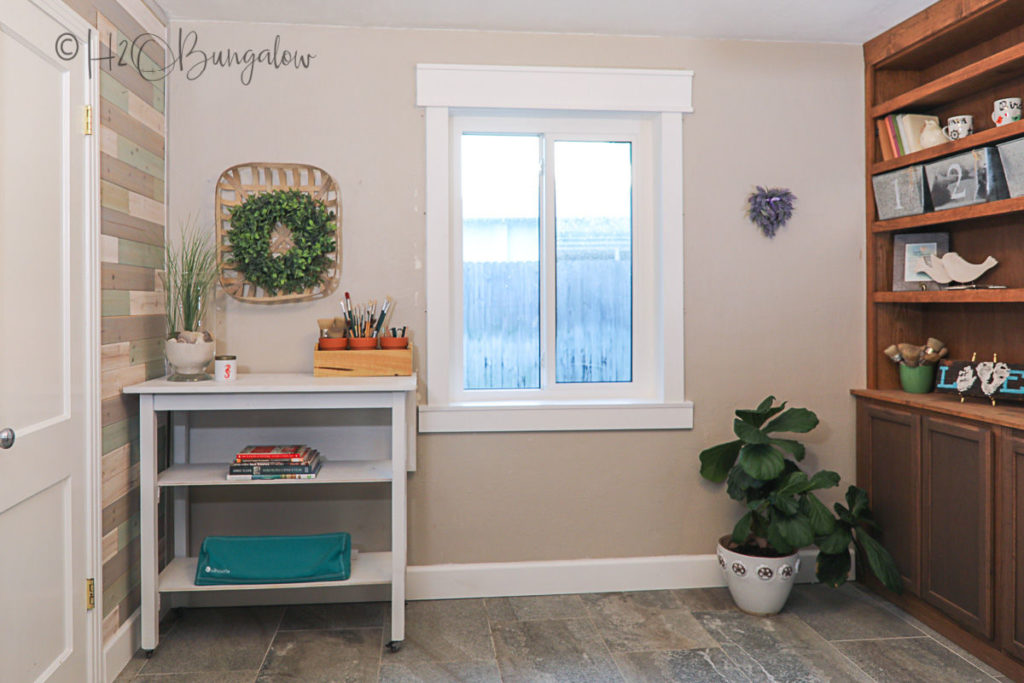
Do yous retrieve what my office liked earlier?
I'one thousand going to go out on a limb and say this is a big improvement!
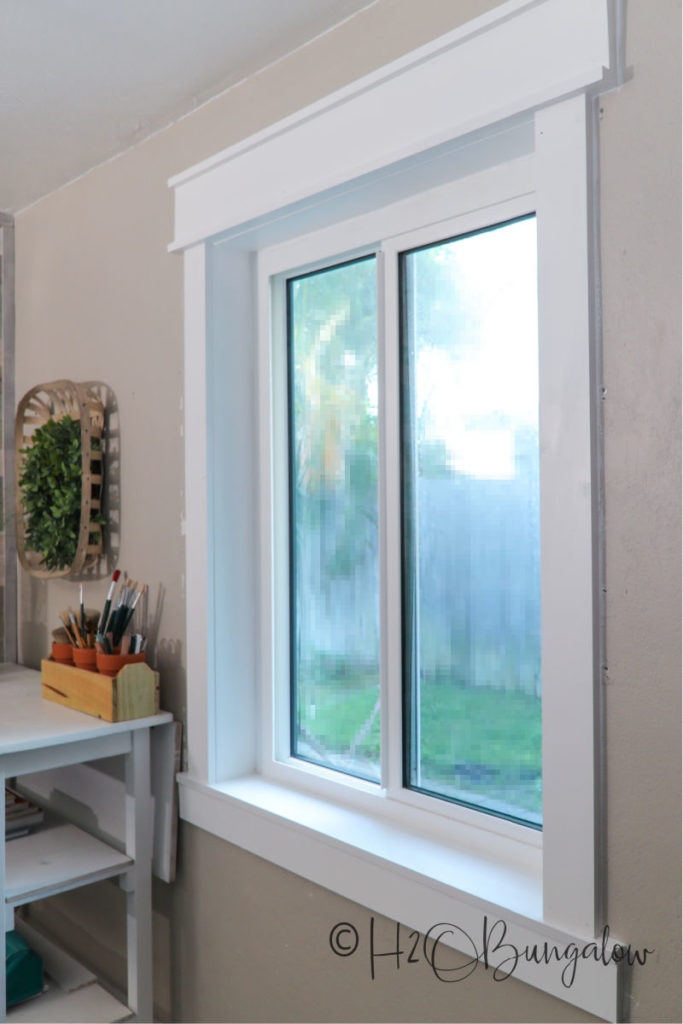
This is the Craftsman window ledge and trim.
Pivot this now and share with your friends on Facebook!
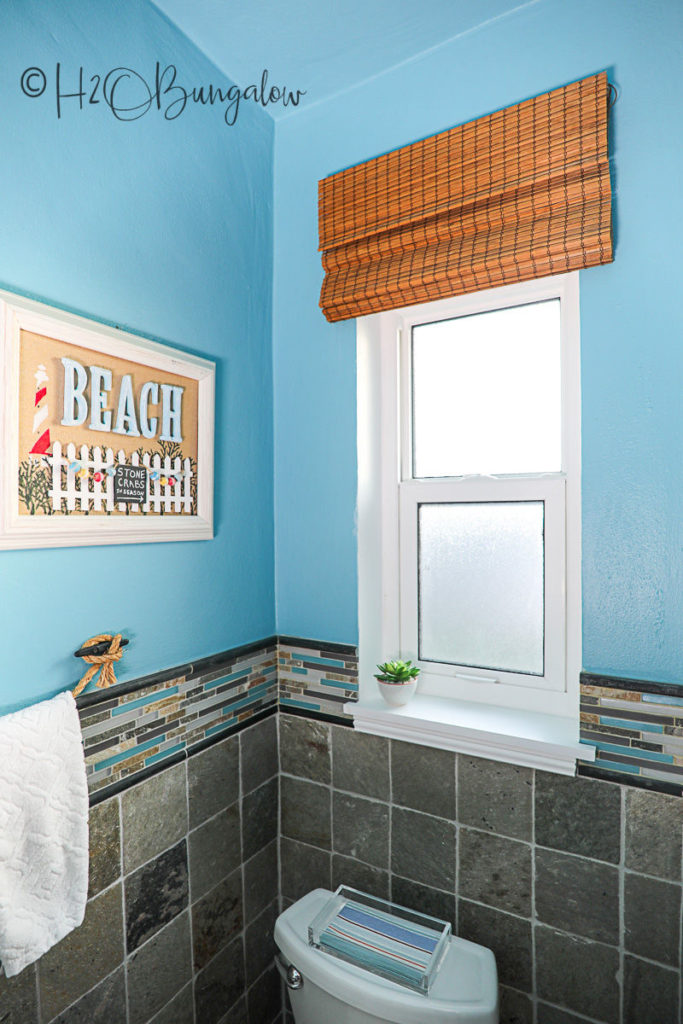
Here's the other 2 styles of window sills I made. The first is a simple apron under the ledge. Information technology worked groovy with the tile trim. Unremarkably, information technology would exist as wide as the window ledge only the tile trim stuck out so I had to nestle it into the space available.
In retrospect, I remember I should have cut the sill ledge a petty shorter.
I retrieve it turned out well though. and much ameliorate than what was there, which was nada merely loose tile.
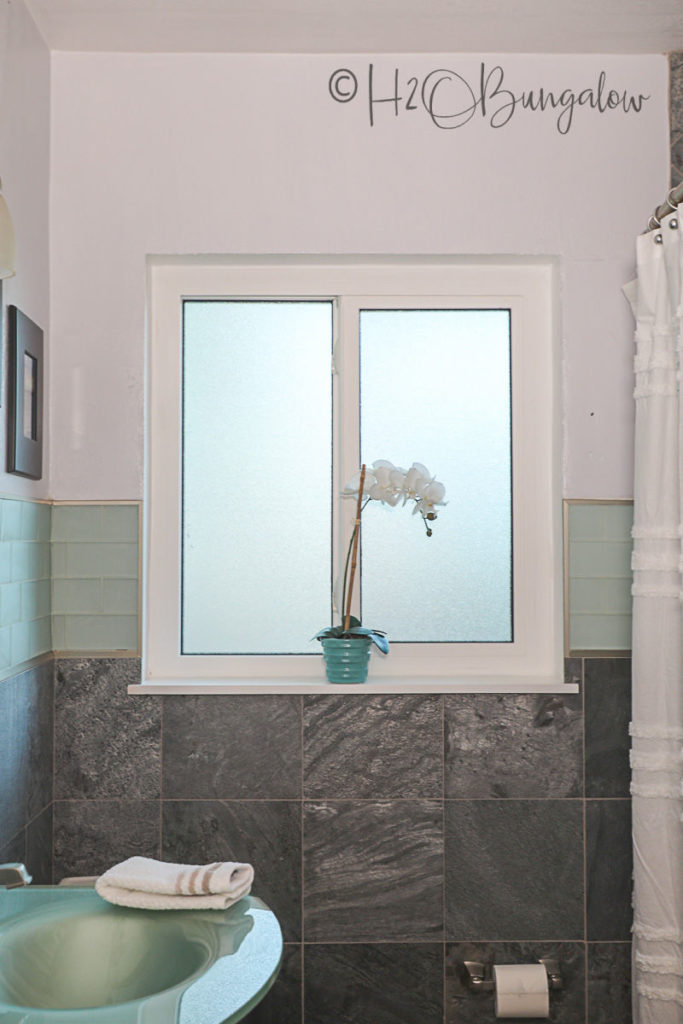
The other homemade window ledge I built has no frock at all. The bath has tile all effectually the wall and the manner it sits, I idea information technology would wait better but plain.
OK, so now that I've shown y'all how to make a window sill are you lot ready to tackle your own?

Yous may also like these projects I've done!
Rustic Modern DIY Picture Ledge
Why not add together a DIY Window Box to the outside?
Source: https://h2obungalow.com/how-to-make-a-window-sill/
Posted by: ramseythreake86.blogspot.com
0 Response to "How To Draw A Window Sill"
Post a Comment